
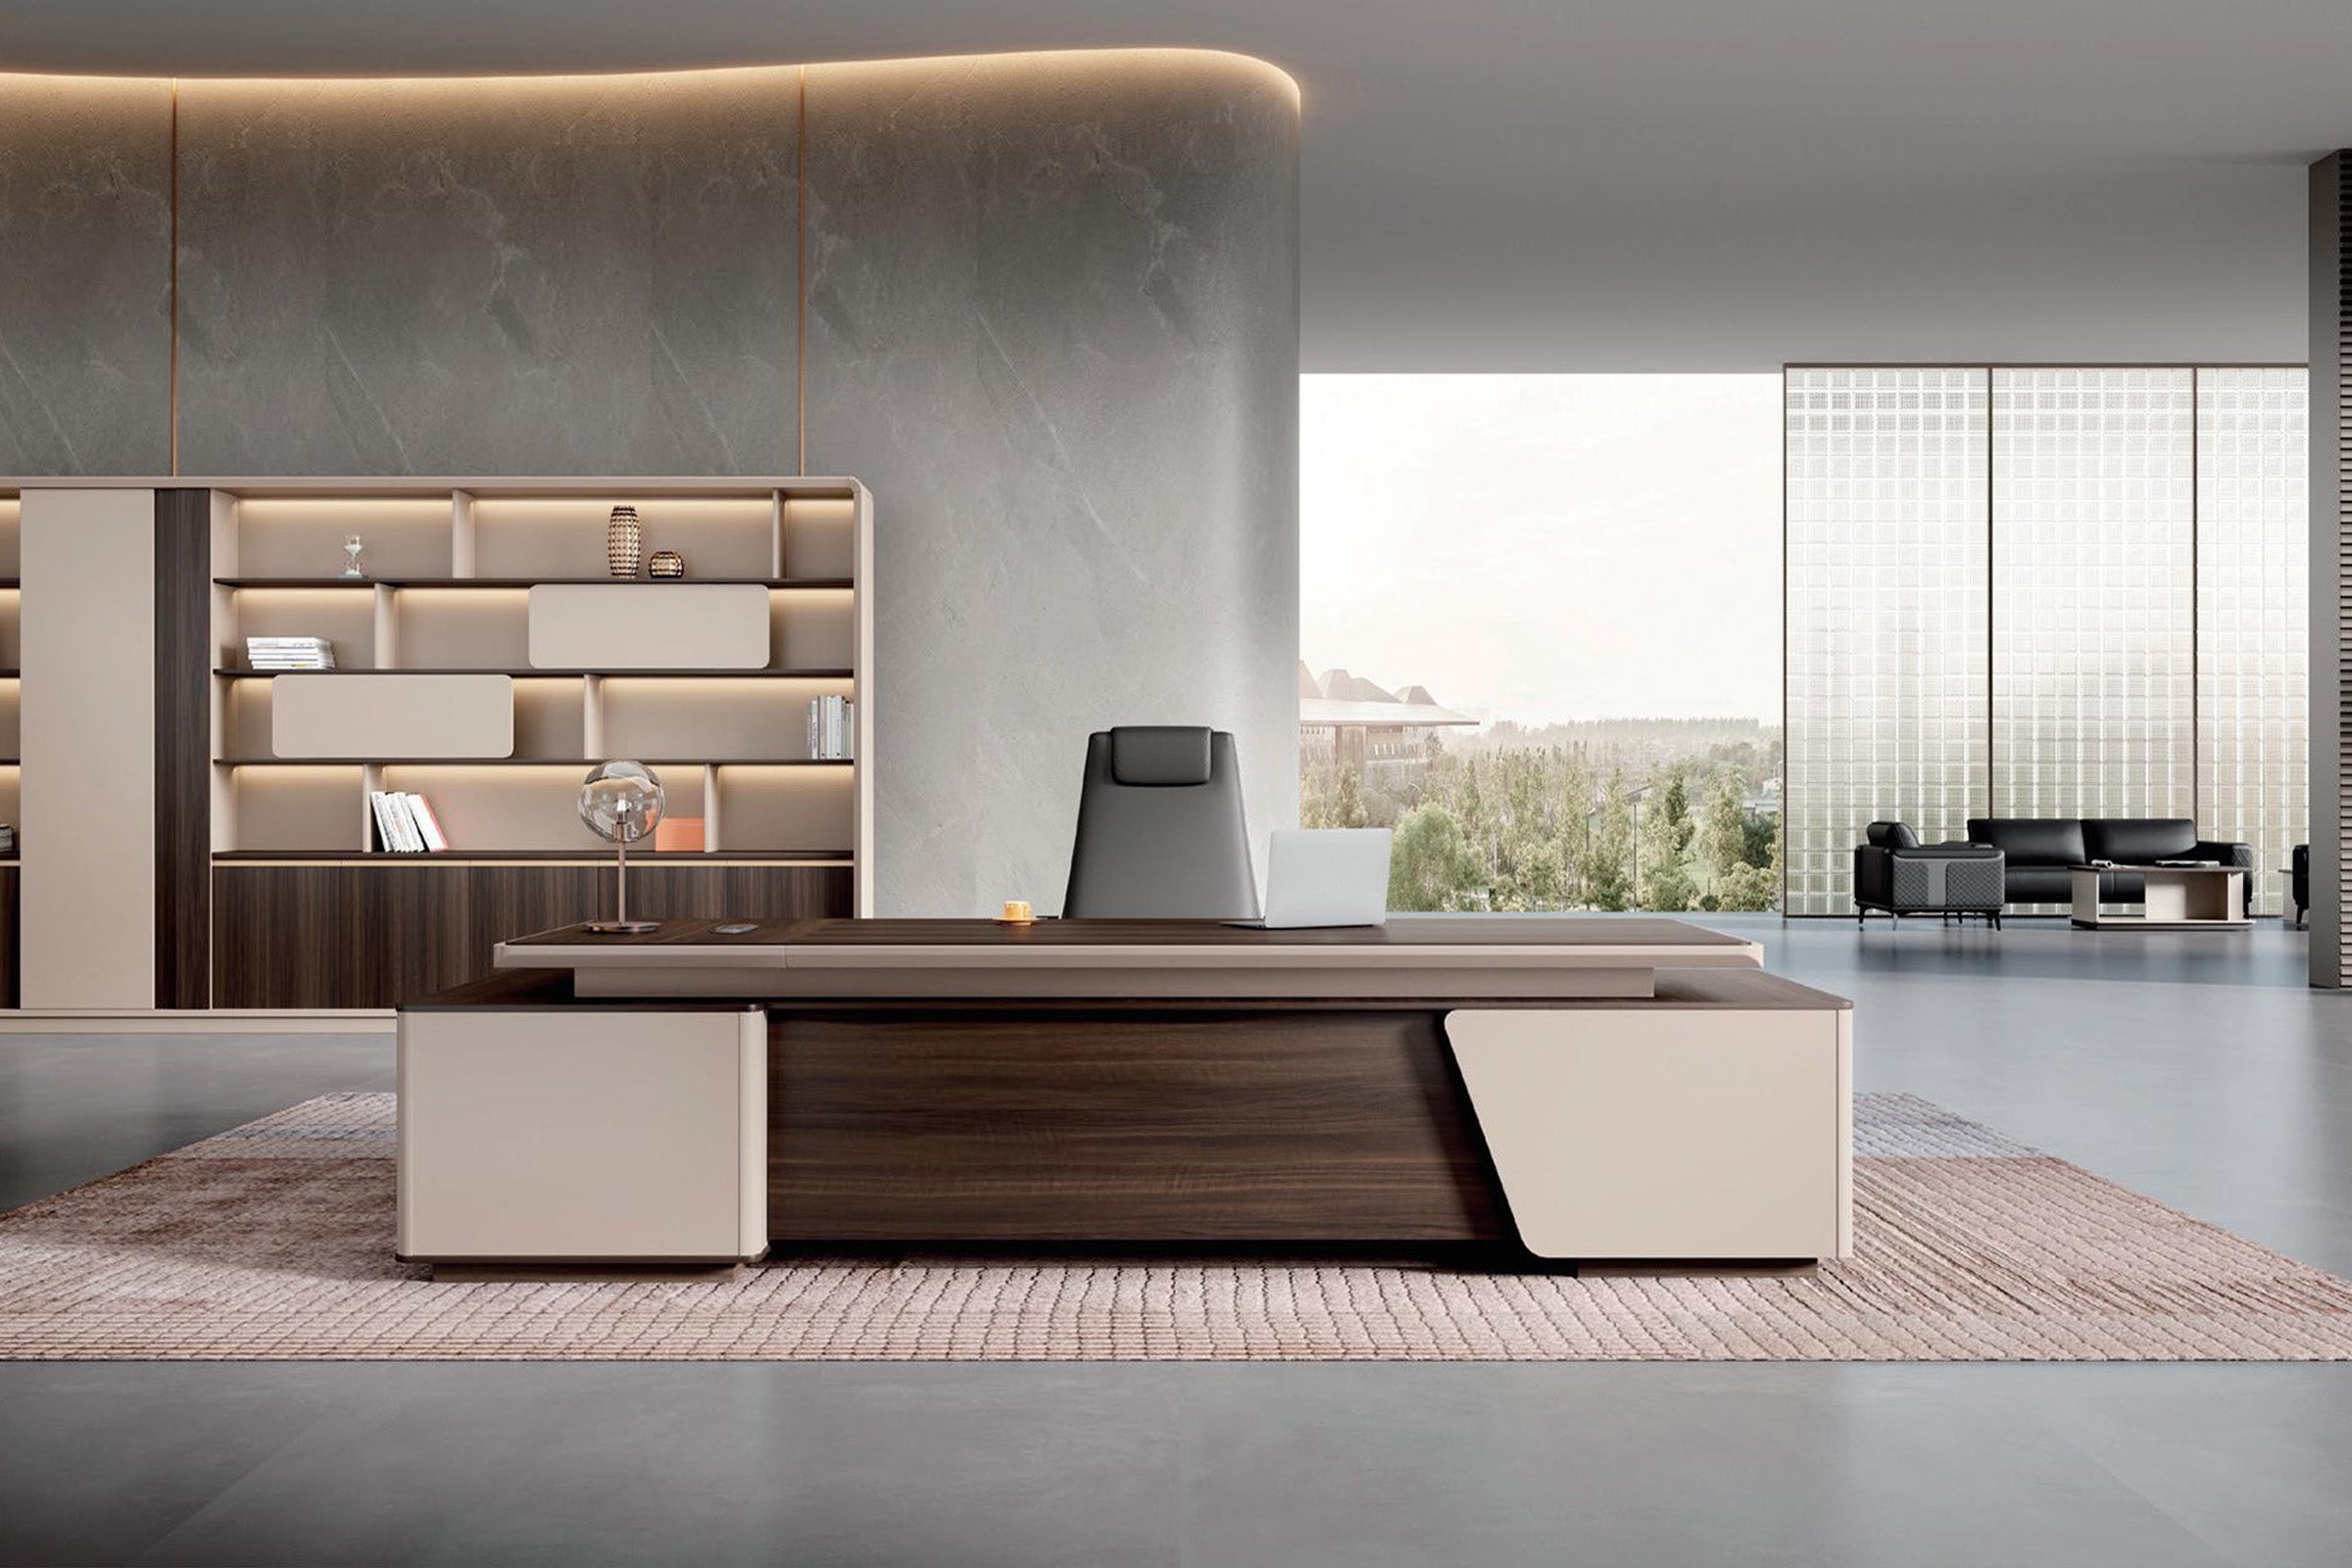


The new executive desk is assembled, but the monitor trembles when someone types. One drawer slowly rolls open. Pressing one corner stops the movement, while pushing from the side makes the entire return shift.
Those symptoms do not describe the same failure. A desk can rock at the floor, sway at a connection, or appear unstable because a monitor arm magnifies vibration. A drifting drawer can reveal floor pitch even when the desktop feels solid.
Use this guide to diagnose large freestanding, pedestal, L-shaped, and height-adjustable executive desks before installation or a service report.
First, Identify What Is Actually Moving
The word "wobble" is too broad to diagnose a desk. Observe before changing hardware or adding pads. The first test should locate the movement at the floor, frame, module connection, or monitor.
Remove breakable objects, keep drawers and doors closed, and place a powered desk at a safe stationary height according to its instructions. Do not lift, tip, crawl under, or move heavy furniture alone.
|
What you notice |
What to observe |
First safe check |
|
The desk rocks diagonally |
One foot, pedestal corner, or cabinet end loses contact as the opposite corner is pressed |
Check the finished floor and the contact of every specified glide or support point |
|
The frame sways side to side |
The feet remain planted while legs, panels, or connected modules move relative to one another |
Compare the assembly to the exact manual and inspect the specified structural connections |
|
The monitor shakes more than the desk |
The desktop moves slightly, but a tall monitor arm or long screen continues oscillating |
Test at the desktop edge and at the monitor support separately; verify the arm mounting area and normal equipment placement |
|
A drawer drifts open or closed |
The cabinet feels stable, but the slide follows a consistent downhill direction |
Check level front to back and side to side before assuming the drawer hardware is defective |
Do not start by tightening every visible fastener. Record the symptom first, take a short video, and keep the model, size, configuration, and assembly instructions available.
Run a Four-Point Contact Test
A heavy desk does not automatically "settle flat." Weight can compress carpet or pads, but it cannot make four or more support points share the load equally when the floor changes height beneath them.
Mark the Real Support Points
Use the assembly drawing to identify every point intended to transfer weight to the floor. On a simple desk, these may be four feet. On an executive desk, the support system may include panel ends, a pedestal, a side cabinet, a return, or several adjustable glides that are not visible from normal standing height.
Mark those locations around the taped footprint. Do not test only the room center: the floor can change at a grout joint, carpet seam, floor-box cover, wall, or mat edge.

Press Vertically Before Pushing Horizontally
Apply light downward pressure near each support point, one location at a time. If pressing corner A makes corner C lift or click, the desk is rocking across a diagonal. Repeat on the other diagonal.
Next, apply a small horizontal force at normal desktop height, first front to back and then side to side. Use only enough force to observe movement, never enough to tip the furniture. If every support remains planted but the frame changes shape or the connection between modules opens, the floor is not the only issue.
If one corner lacks contact, a thin, rigid temporary gauge can confirm that the gap causes the rocking. Remove it after the test. The permanent correction should follow the desk manufacturer's instructions or an installer's approved method, not stacked paper, coins, or felt pads.
Map the Finished Floor Before Assembly
The floor under the desk matters more than the average level of the room. Map the actual footprint before cartons are opened, particularly for wide L-shaped executive desks that cross several tiles, carpet seams, or flooring zones.
Record High Points, Low Points, and Transitions
Tape the maximum footprint and return orientation. Mark its supports, then use a rigid straightedge, box level, or appropriate laser between them. Record specific high and low locations rather than writing only "floor is uneven."
Check these easily missed conditions:
- A glide landing partly on a tile and partly in a grout joint.
- One end of a side cabinet sitting on a carpet seam or transition strip.
- A pedestal positioned over the raised edge of a floor-box cover.
- The main desk on hard flooring while the return rests on a rug or chair mat.
- A support point close to a wall where flooring adhesive, base trim, or tack strip changes the surface.
For raised access floors, historic buildings, or visibly sloped slabs, have the facility or project professional confirm permissible point loads and correction methods. Before the footprint disappears, photograph the tape outline, transitions, floor outlets, and support-point marks with a tape measure or labeled sketch.
Leveling Glides Are for Final Adjustment, Not Structural Repair
Adjustable glides are a normal way to accommodate limited floor variation when the product includes them. A Steelcase guide says its glides adjust desk height for uneven floors, while a Haworth installation example directs installers to position and level a desk. These examples explain the purpose of glides, not the range or sequence for a Zimasya model; use its exact instructions.
Adjust Toward Full Contact
Begin with the desk in its final position and all intended supports installed. Identify the low-contact point from the vertical press test. Make small adjustments using the correct tool and direction specified for the glide, then repeat both diagonal checks.
Do not raise one corner simply to make a bubble look centered while another support becomes unloaded. The useful result is a stable desk with the work surface at an acceptable level and every intended support carrying load. If the model uses lock nuts, covers, or access holes, finish them as directed after the adjustment is accepted.
Know When the Glide Has Reached Its Limit
Stop if a glide needs to be extended beyond its specified range, has too little thread engagement, cannot sit squarely on the floor, or requires the furniture to lean visibly. Do not drill new holes, replace feet, or add permanent shims without written product guidance. Send the floor readings and photos through Zimasya's contact page when the adjustment method is unclear.
Carpet Changes the Test After Installation
Carpet introduces compression as well as height variation. Two supports can begin at the same elevation and settle differently because one lands on dense pile while another lands near a seam, edge, or softer underlay.

Keep Every Support on a Comparable Surface
Avoid placing only one desk foot on a rug, chair mat, protective pad, or flooring transition. If a protective product must extend under the desk, confirm that it is designed for the furniture load and covers the intended support pattern consistently.
Do not assume a rigid board or pad is automatically safer. It may shift, create a new edge, or interfere with a glide. Use a solution approved for the desk and finished floor.
Recheck After Normal Load and Settlement
Level the desk initially, then repeat the four-point test after the normal monitor, computer, and work materials are placed within the product's load limits. Recheck again after the carpet has settled under the installed furniture.
Record the adjustment. If a corner repeatedly loses contact, investigate rather than continuing to readjust it.
Assemble the Desk Without Forcing It Square
Large executive desks use multiple connected parts. A main surface, side cabinet, return, and modesty panel can each appear stable while the connected system twists across an uneven floor.
Follow the Exact Tightening Sequence
Use the model-specific hardware, hole pattern, and tightening order. When instructions call for connectors to remain loose until parts are aligned, do not fully tighten them early. When they call for a component to be leveled before drawers are installed, do not use drawer fronts to judge alignment prematurely.
Never use a connector bolt as a clamp to pull a cabinet or return down to a floor it cannot reach. That may close the visible seam while loading the connector, distorting the panel, or leaving another support suspended.
Zimasya provides information about its furniture delivery and assembly service. Confirm service scope, site conditions, and final leveling before the scheduled installation.
Place a removable painter's-tape witness mark across the desk-return joint. Wrinkling or separation during the press test reveals relative movement. A straightedge can reveal twist; do not use the desktop to force the side cabinet into alignment.
Test L-Shaped and Pedestal Desks as One System
An L-shaped desk has more support points, and its side cabinet may carry part of the main surface. Treating that cabinet as movable storage can produce the wrong diagnosis.
Check Each Module, Then the Connection
If the instructions permit, confirm the main desk and supporting cabinet make proper contact at the required assembly stage. After connection, test the return end, main-desk corners, and joint.
If the unit passes separately but rocks after connection, compare the module elevations and connector alignment. If it rocks separately and together, start at the finished floor and support points.
Let Doors and Drawers Reveal Twist
Uneven gaps around doors, a lock that binds, or drawers that drift in opposite directions can indicate cabinet twist. Test storage only after the base is level. Open one drawer or door at a time and follow any anchoring or anti-tip instructions supplied with the unit.
Leveling and anchoring solve different problems. The U.S. Consumer Product Safety Commission's Anchor It guidance recommends following manufacturer instructions to secure top-heavy furniture; a level cabinet is not automatically protected from tip-over.
Height-Adjustable Desks Need Three Stability Checks
A height-adjustable desk changes leverage as it rises. Test the lowest operating height, the user's seated height, and the standing height they will actually use.
Separate Frame Movement From Monitor Movement
Watch the screen with one hand lightly on the desktop edge. If the top settles but the monitor continues oscillating, inspect the arm and mount. If top and frame move together, continue with floor-contact and assembly checks.
BIFMA's desk and table standard includes stability, leg-strength, height-adjustable-surface, and monitor-related testing. Its overview explains the laboratory scope; site installation still matters.
Check Manufacturer-Specified Connections
UPLIFT's official troubleshooting example checks desktop-to-frame, foot-to-column, and side-bracket or crossbar connections. The diagnostic order is useful, but fasteners and torque remain product-specific; use the Zimasya instructions for the exact desk.
Do not work beneath, disconnect, reset, or service a powered desk outside its manual. Stop and contact support if the desk moves unevenly, displays an error, makes a new mechanical sound, or cannot hold its commanded position.
Run a Normal-Use Acceptance Test
The final test should reproduce work, not an empty showroom. Keep every item within the desk's stated load and mounting limits.
- Confirm the desk is in its final location and all required glides, connectors, covers, and anchors are complete.
- Place monitors, computer equipment, and daily tools in their real positions rather than centered only for the test.
- Type at the normal keyboard location, write near the front edge, and use the monitor at seated and standing heights when applicable.
- Open one frequently used drawer or door at a time and verify that it does not bind, drift, or unload a support point.
- Repeat the contact test and record movement at the floor, frame, joints, desktop, and monitor.
- Save photos, video, floor notes, desk SKU, configuration, and installer details with the order record.
A pass means the desk remains stable during intended work, all required supports stay engaged, storage operates correctly, and no unexplained movement is increasing.
If the Test Fails, Change the Correct Layer
If One Corner Lifts
Return to the floor map and the specified leveling glides. Check whether the support is on a seam, mat edge, floor-box cover, or different surface. Stop if the required correction exceeds the product's adjustment method.
If the Frame Moves but the Feet Stay Planted
Compare the structure with the manual. Missing braces, incorrect hole positions, swapped hardware, or connections tightened out of sequence require installer or manufacturer correction, not improvised brackets or drilling.
If Only the Monitor Shakes
Verify the monitor arm clamp area, hardware, screen weight, arm extension, and desktop compatibility. A heavier desk will not necessarily correct a long, flexible monitor-arm setup.
If Drawers Drift or Bind
Confirm the cabinet is level and not twisted before adjusting slides or fronts. If the cabinet is level but storage still fails, document the gap and contact support rather than repeatedly forcing the drawer.
What to Confirm Before Ordering
- Exact desk size, configuration, support-point locations, and whether the return is left- or right-hand.
- Finished floor type at every support point, including seams, transitions, mats, floor boxes, and raised-floor panels.
- Whether adjustable glides are included and the model-specific range and access method.
- Assembly sequence, required tools, installer responsibilities, and whether final leveling is included.
- Normal equipment weight and position, especially multiple monitors or a monitor arm.
- Storage anchoring or anti-tip instructions and whether the wall or floor can accept the specified hardware.
- A plan for post-installation rechecking after normal load and carpet settlement.
If the product page does not answer a stability-critical question, send the exact product link, size, configuration, floor photos, and a dimensioned sketch to Zimasya before placing the order.
Frequently Asked Questions
Will a Heavy Executive Desk Level Itself on Carpet?
No. Weight may compress carpet, but it does not guarantee equal contact at every foot, pedestal, or cabinet end. The desk can still rock diagonally or settle unevenly near a seam.
Is Some Movement Normal on a Standing Desk?
Movement can become more visible as a desk rises. Determine whether it comes from floor contact, assembly, monitor-arm leverage, or a developing fault. Document and check new, increasing, or uneven movement.
Can I Leave Cardboard or Coins Under a Desk Foot?
They may help confirm that a gap causes rocking, but they are not dependable permanent supports for a heavy desk. Use the specified leveling glide or a correction approved by the manufacturer or installer.
Should the Desk Be Leveled Before or After Equipment Is Added?
Both. Establish correct contact and level during installation, then repeat the test with the normal working load in place. Carpet compression and uneven equipment placement can change how the supports share load.
Why Does a Drawer Open by Itself Even When the Desk Feels Stable?
The cabinet may have a small front-to-back or side-to-side pitch that is not obvious at the desktop. Check the cabinet level and twist before changing the drawer hardware.
Diagnose the Movement Before Choosing the Fix
A desk wobble on carpet or an uneven floor is not solved by one universal adjustment. First identify whether the movement is rocking, frame sway, monitor vibration, module twist, or drawer drift. Then correct the floor-contact, assembly, accessory, or service issue that matches the symptom.
Once the footprint, flooring, equipment, and installation plan are documented, compare the exact sizes and configurations in Zimasya's office furniture collection. A stability plan saved with the order is far more useful than trying to reconstruct the floor condition after a large desk has already been assembled.


