
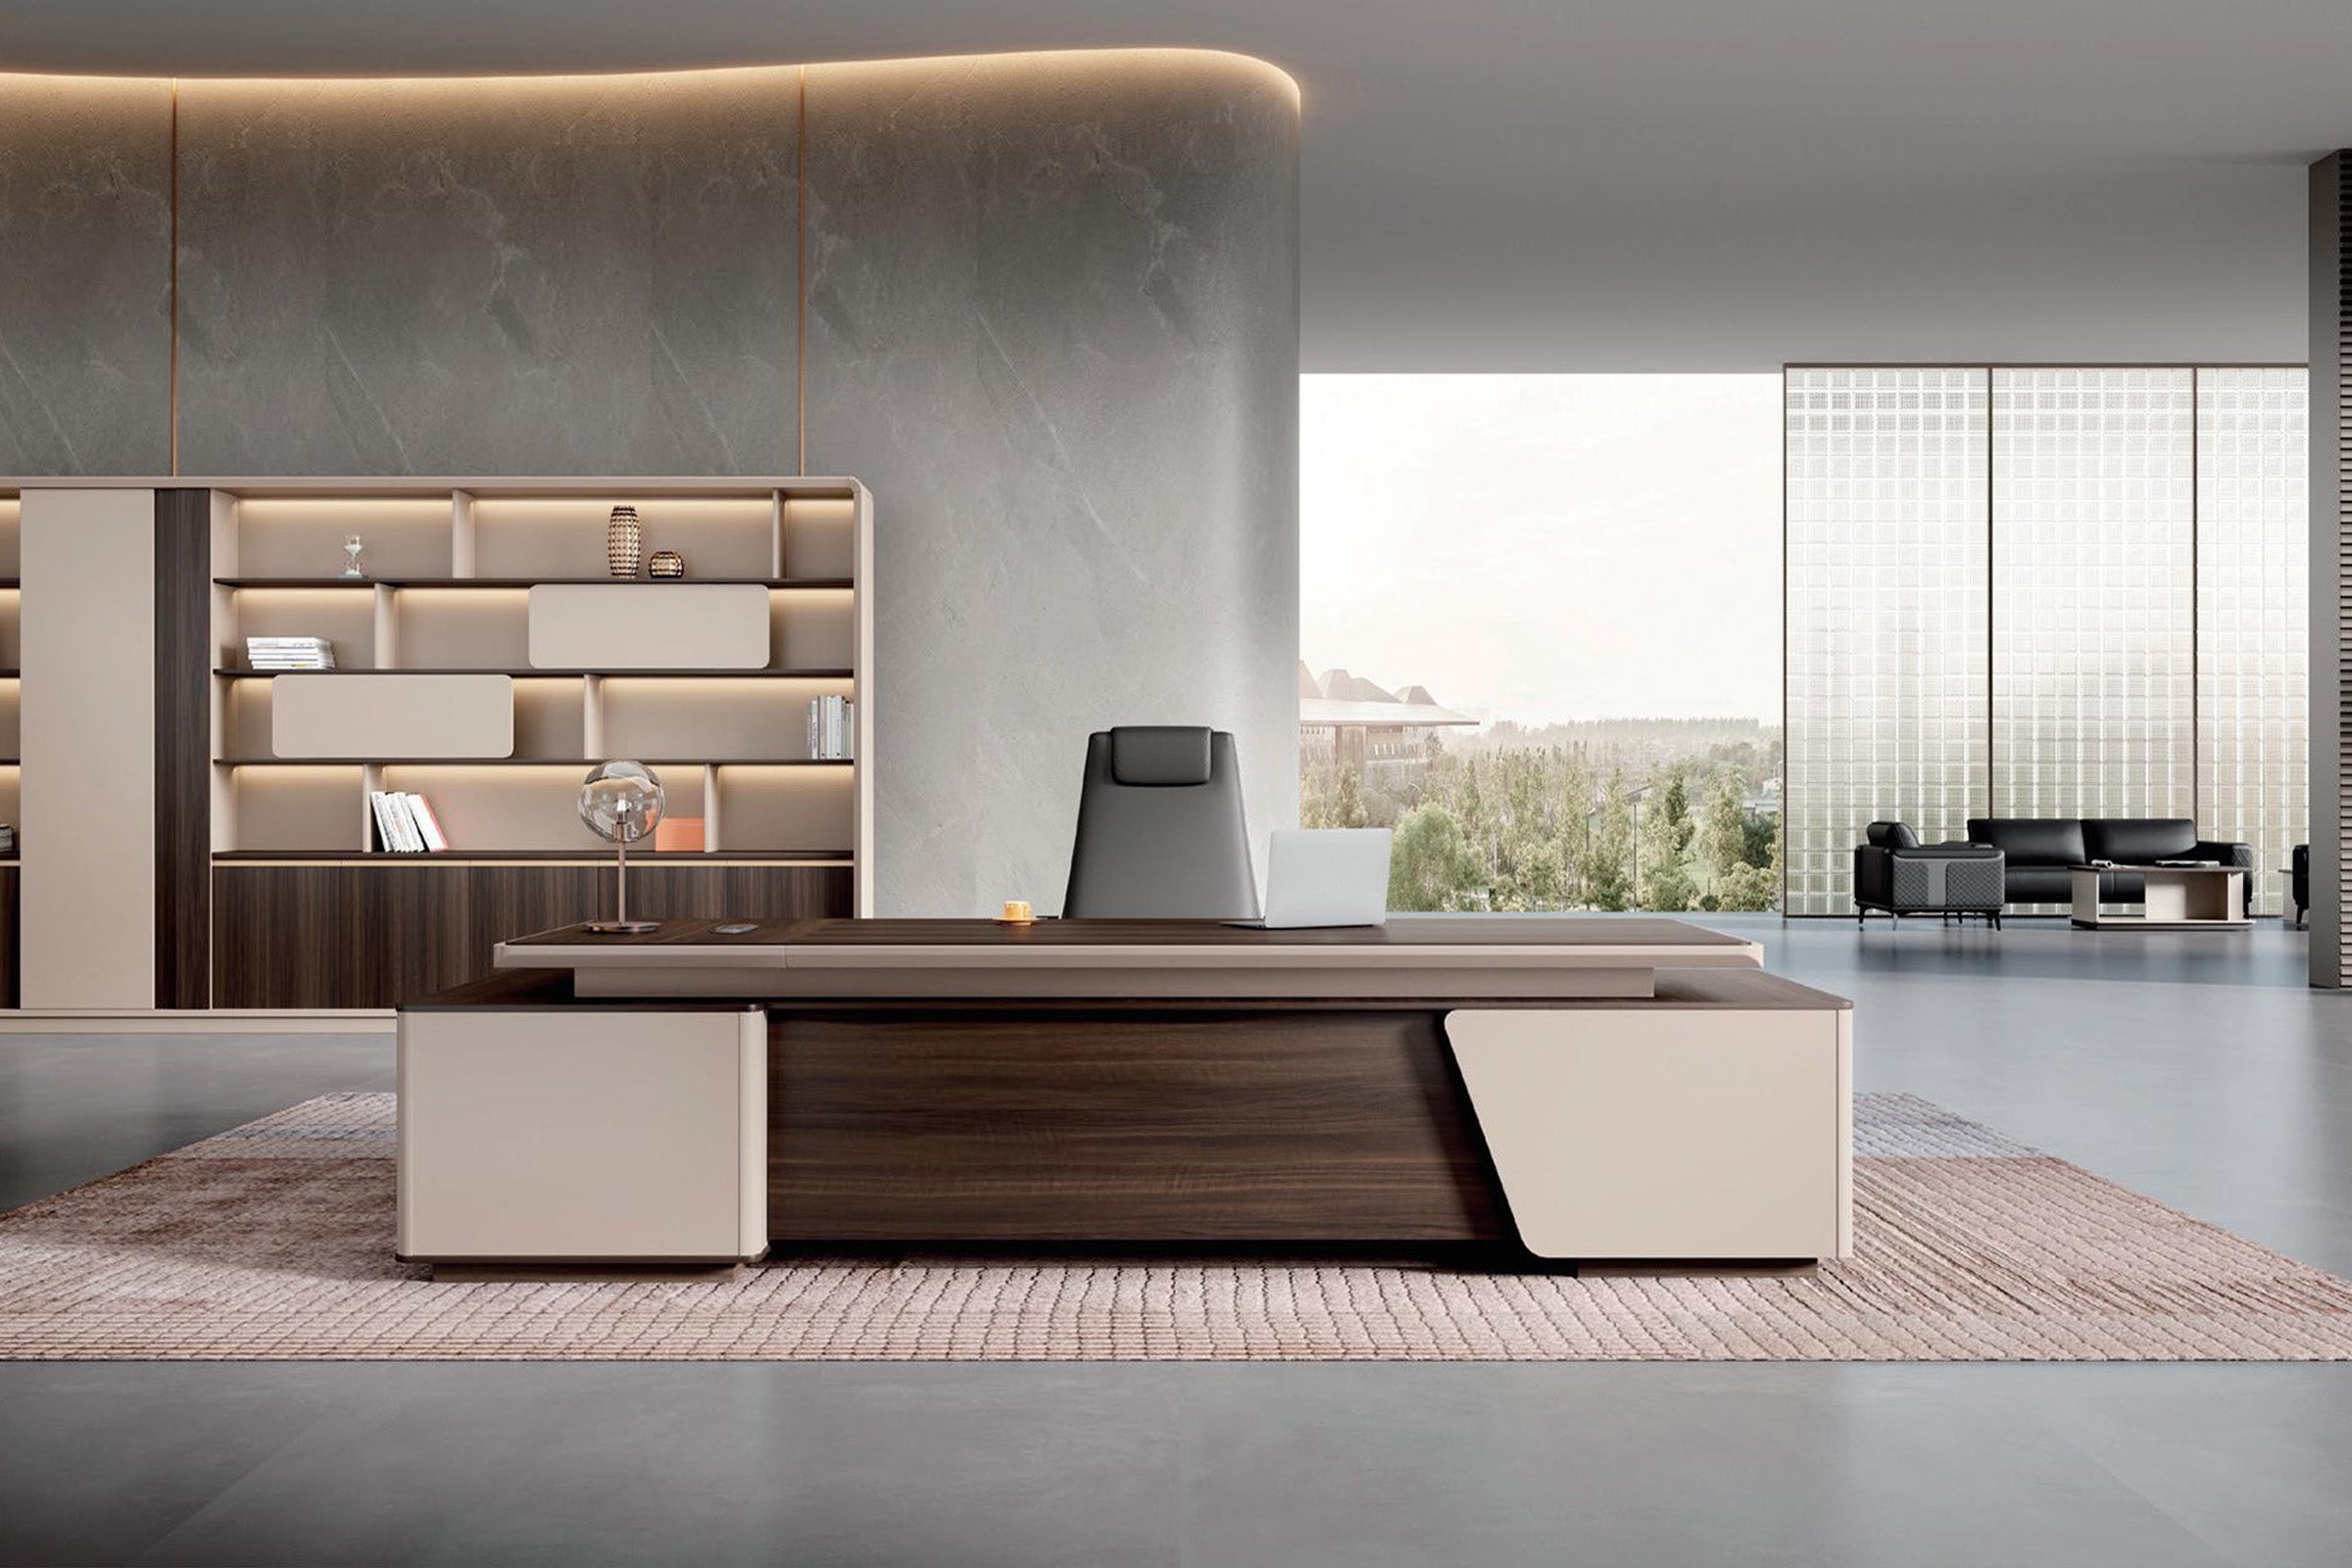

An LED strip can be working exactly as intended and still disappoint. In a dim product photo, it may define the whole front of the desk. Under a lobby's ceiling lights, the same strip may look like a faint line.
The gap is usually expectation, not failure. One current Zimasya model describes its integrated light as accent lighting: a visual highlight for the counter, not a stated replacement for lobby or task lighting. “LED included” does not tell you how strong the effect will be in your room.
Before placing the order, settle the lighting job, color, power route, visitor sightlines, and service access. Those are the details a front-facing product image cannot answer.
1. Give the Light One Job
Start by finishing this sentence: “The LED strip is here to _____.”
A practical answer might be:
- Add a soft outline to the front of the desk after sunset
- Make the reception counter easier to identify from the entrance
- Highlight a logo or textured front panel
- Carry a particular brand color during events
“Light the receptionist's workspace” is a different requirement. A decorative strip on the visitor side may not put useful light on documents, a keyboard, or a payment terminal behind the counter. Plan task lighting separately unless the exact desk specification shows otherwise.
Put the lighting job in the order notes. “A warm outline that remains visible with the lobby lights on” is more useful than “LED included.” If color-changing light matters, name the colors and the way staff will control them. If it does not, fixed white light is usually the simpler daily choice.
2. Ask for Two Short Videos, Not Another Render
Polished product images are useful for comparing shape and finish, but they rarely reproduce your lobby's ambient light. Ask for two short, unedited phone videos of the same completed desk when possible:
- One with normal overhead lights on during the day
- One after dark with the lobby lighting set as it will normally operate
Have the person filming begin where a visitor first sees the desk, walk toward it, and move past both corners. The clip should also show the staff side, switch, cord exit, and power supply. A close-up of the strip is not enough. A phone camera may make the strip appear stronger or weaker than it does in person, so keep the surrounding room in the frame and compare both clips under known lighting conditions.
For a made-to-order desk, check how closely the sample matches the finish, strip position, diffuser, and light color on your order. Warm light against white lacquer can look different from the same light against gray, wood grain, or a marble-look panel.
3. Choose the Light Color With the Finish
Light color changes how a finish looks. Warm white may suit cream and wood tones, while a neutral white can look cleaner against gray or white. The reliable way to decide is to see the chosen finish and light together, not to choose each from a separate sample.
Do not stop at “warm white.” Ask for the color temperature in kelvins and have it written into the approved specification. If the strip is RGB or tunable white, find out whether it uses a remote, wall control, app, or built-in button. Also check what happens after power is interrupted. A front desk should not need someone to find a tiny remote and restore the correct setting every morning.

4. Draw the Power Route Before You Approve the Desk
“Outlet nearby” is not a power plan. A workable plan connects five specific points: the building outlet, plug, cord exit, LED driver or power supply, and switch.
Mark those points on the floor plan and on the desk's front or side drawing. Then check:
- Which side of the desk the cord exits
- The cord length supplied with the exact configuration
- Whether the power supply is internal or an external brick
- Whether the switch is on the cord, inside a cabinet, or on the work surface
- Whether the cord can reach the approved outlet without crossing the visitor approach or staff chair path
If the desk will sit over a floor box, check the plug height, lid position, and cabinet-base cutout as well as the outlet location. A box directly beneath a cabinet divider may be unusable. Adjust the desk or outlet plan before installation rather than routing a cord into the visitor path. Do not trap the plug or power supply under a fixed panel where it cannot be unplugged without moving the desk.
Any new outlet, hardwired connection, or modification to the building's electrical system should be reviewed and performed by a qualified professional. The furniture installer should not have to invent an electrical solution on delivery day.

5. Keep the Switch and Driver Out of Dead Space
The front light may be visible, but the components that run it are often hidden. That is good for appearance and bad for maintenance if “hidden” means sealed behind a fixed panel.
Request one staff-side drawing or photo that labels the driver, switch, connectors, and removable access panel. The receptionist should be able to turn the light on without unloading a cabinet or crawling under the work surface. A technician should be able to reach the driver without detaching the entire front of the desk.
This matters when the counter also contains drawers, shelving, a computer tower, or a trash pullout. A side cabinet can block a service panel that looked accessible in an isolated product drawing. Check the chosen size and storage layout together; do not assume every length uses the same component position.
After installation, label the driver and photograph its location. Keep that photo with the product manual and order record. Six months later, “inside the left cabinet behind the removable back” is far more useful than “somewhere under the desk.”
6. Test Glare From the Visitor's Actual Path
An LED strip should usually illuminate a diffuser, recess, or front surface rather than shine directly into a visitor's eyes. Directly visible LED points can make an otherwise expensive counter look unfinished, especially when someone approaches from the side.
Use the floor plan to identify three views: the first sightline from the entrance, the normal check-in position, and the route from the waiting area. Check each one from both standing and seated eye levels.
Then look beyond the desk. Glass doors, polished tile, mirrors, stainless trim, glossy wall panels, and even a dark television screen can reflect the strip. A reflection may be more distracting than the source itself. If the lobby has a highly reflective surface opposite the counter, ask for a wider-angle video or test a strip sample in the room before approving the final brightness.
A dimmer can help, but only when it is compatible with the supplied driver and control system. Do not add a generic inline dimmer after delivery without checking the product instructions and warranty terms.
7. Decide How the Light Will Be Replaced
The desk may outlast its strip or driver. Find out whether those parts can be replaced from the staff side or whether the visitor-facing panel must come off.
The goal is not to turn the receptionist into an LED technician. It is to leave the future technician enough information to identify the original system. Save:
- A clear photo of the driver label
- The light color or RGB control type
- The connector type and strip width, if supplied
- The diffuser or channel profile
- The part number, supplier contact, and warranty responsibility
Do not match a replacement by appearance alone. Similar-looking strips can use different voltages, connectors, or controls. If the desk has a shaped diffuser or custom channel, find out whether it can be ordered separately. For a multi-desk rollout, it may be worth ordering one approved spare only after the supplier confirms how it should be stored and whether using it affects the warranty.
Use Zimasya Product Pages to Build the Shortlist
Start with Zimasya's reception desk collection to compare shapes, lengths, finishes, and storage layouts. Then treat each product page as the beginning of the specification check, not the entire approval package.
The Modern Lobby Reception Desk with LED Lighting is a useful starting point because its page describes the light as an accent and lists several desk sizes and finishes. For a curved counter, compare the strip position on the Luxury Curved Lobby Reception Desk with LED Light. If warm light is closer to the intended atmosphere, review the Modern Reception Desk for Office with LED Warm Light.
Size and storage still come first. Zimasya's reception desk buying guide can help narrow the desk type; use the checks in this article after the lighting option enters the shortlist.
For the exact variant, request written confirmation of the light color, control method, cord exit, supplied power components, service access, and replacement route. Options can differ by size, finish, and custom configuration.
Run This Check Before the Installer Leaves
Do not wait until the opening event to discover that the switch is unreachable or the light looks wrong in the room. Test the desk after it is connected, before the crew leaves and the packaging is discarded.
- Turn on the normal lobby lights and view the desk from the entrance, waiting area, and check-in position.
- Switch the overhead lights to the evening setting and repeat the walk.
- If the desk will appear on video, test it with the camera normally used in the space. A phone clip can flag banding, but it is a screening check, not proof that the LED hardware is defective.
- Test every light setting, remote, button, and dimmer included with the order.
- Open each cabinet and drawer while the light is on; listen for loose components and confirm nothing strikes the wiring.
- Check that the cord, plug, and power supply remain protected from feet, chair casters, cleaning equipment, and stored items.
- Locate the driver and connectors, then photograph their labels and access route.
- Run the light for the period stated in the supplier's setup and test instructions. If no period is given, ask what initial test the supplier recommends.
If several desks are being installed, approve one complete unit before the crew repeats the same wiring route or control placement across the others.
Send These Questions With the Floor Plan
Instead of asking, “How bright is the LED?” send the selected product, finish, size, and a marked outlet location with these questions:
- Is the light intended as accent lighting, and can you provide a daytime and evening video of the closest matching configuration?
- What color temperature or color-control system is included?
- Where do the cord, switch, driver, and connectors sit on this exact size and storage layout?
- What plug, power supply, and cord length are included?
- Can the strip, driver, and diffuser be replaced without moving or disassembling the desk?
- Which replacement parts can be ordered separately, and who handles lighting warranty claims?
- Can the final lighting layout be shown on the approval drawing before production?
Attach the written answers and approved lighting drawing to the order. They are easier to use during installation than a screenshot of a staged product photo.
Frequently Asked Questions
Is an LED reception desk bright enough to light a lobby?
Treat the strip as accent lighting unless the manufacturer provides measured light-output information showing otherwise. Use separate lobby and task lighting as needed.
What color temperature is best for reception desk lighting?
Match the kelvin rating to the desk finish, surrounding lighting, and brand atmosphere. Review a real sample or video instead of relying only on “warm” or “cool” labels.
Does a reception desk with LED lights need a special outlet?
Not necessarily. Confirm the plug, voltage, power supply, and instructions, then have the building's qualified electrical contact review the outlet plan. Do not assume an extension cord is acceptable.
Can the LED strip be replaced?
Only if the desk is designed for service. Confirm access to the strip and driver, plus the availability of matching replacement parts.
Will an LED strip look the same in daylight as it does in product photos?
Usually not. Ambient light, exposure, viewing distance, finish color, and reflections change the effect. Request daytime and evening videos of the closest matching configuration.
Should I choose RGB lighting for a reception desk?
Choose RGB only when changing colors is a real operating need. Confirm the controller, saved settings, replacement parts, and daily operation. Fixed white is simpler for a consistent accent.
Buy the counter for its layout and finish first. Then treat the LEDs as a small lighting system with a defined job, a planned outlet, reachable components, and a replacement path. If those details are settled before production, the desk is far less likely to look good online and awkward in the actual lobby.


